Showing posts with label tutorial. Show all posts

Apr 17, 2013

No Sew Faux Roman Shades

Hi blog friends! Long time, no see! As you can imagine, with the new baby around, keeping up with the blog is low on the priority list. Which also means I didn't notice until now that my blog isn't working and looks like doo doo. Sorry about that! One day I will fix it...

Back to our topic at hand, though! I have been slowly working my way around the house trying to add some character and decoration. It is a slow process since our new house is much bigger than the last. It will take some time to fill up this bad boy! Today I conquered the window treatments in the laundry room using the tutorial I found at In My Own Style. I saw some fabric at Hobby Lobby yesterday that I bought on a whim and then whipped them up today.


I was able to make the panel while Thomas was taking a nap. I used fusible tape to finish the edges and make the top pocket for the rods. Not sure how much time it saved versus sewing. The only difference really was I didn't have to take the sewing machine out of the closet but I bet the time I spent ironing would have been the same as if I sewed the edges. At least with ironing I didn't have to worry about making so much noise the baby would wake up! Then once Brad came home and took the blinds off for me, I spent another 30 minutes or so hanging everything up and cleaning up the laundry room.


As you can see, the room is still quite bare and uninteresting. (thus the 'to be continued'!) I have some other things on my to-do list for the laundry room, but it will probably be somewhat low priority since really Brad and I are the only ones who see this room. I just kinda felt like being crafty this week and these curtains were easy peasy!

I would definitely make these again for a window that wouldn't get messed with much. The fabric is laying just right on the rods so I imagine they would slip and slide pretty easily. However, for the price and ease of making them, they are perfect for the laundry room!


Please be a fan of lil Mop Top on facebook!! I link up to these parties!

Aug 23, 2012

How To - Scratch Off Tickets

Like I said in my previous post, making scratch off tickets are really easy to do! Here is how I made the gender reveal tickets for the Stache or Sash party.


1. Print out your cards. (duh!) Here are the cards I used to make the tickets. I am also adding in the 'winning-girl' ticket, but I didn't actually use it since we are having a boy! Yes, they are sideways because that is how I had to print them to fit onto the business card template I used.


2. Use clear tape to tape over the space what is going to be the scratch off area. You can kind of see in this picture that I have the images all covered with tape.


3. Lay out all your cards so you can paint them. To make the paint, mix two parts paint with one part dish soap. You don't really need a lot of this if you are using a dark color. I used a plastic spoon and basically did 2 tablespoon of paint and 1 tablespoon of soap.


4. Paint over the images you want to be under the scratch off. The blue paint took one coat. The pink paint, however, took about 5 coats! So, if I had to do this again, I would always pick a dark paint color.


Let dry and DONE! See, super easy!

Here is what they looked like when they were done.


They scratch off really easily. Not like the real lotto tickets, but good enough for my purposes!


Here was the winning ticket! :)


Please be a fan of lil Mop Top on facebook!! I link up to these parties!

Jun 26, 2012

Distressed Flag Sign - Tutorial

Like I said the other day, I am getting back in gear with crafting after taking about a 4 month break due to moving. So, the first project in the new house is this distressed flag sign.


Every time I walk in the living room, the mantel just pops and I love it. It may 'pop' because nothing else is hanging up in our house yet, but whatevs.


Here is how you can make one for your own home:

Supplies
-poster/print of the flag (get yours FREE below!)
-spare board cut to size
-white paint and paint brush
-sander/sand paper
-mod podge and brush

Steps:
1. Print the flag image either as a poster or photo. I printed mine at Walmart as a poster for about $13. Luckily the Walmart near me has same-day pick up available so I ordered it online and Brad picked it up for me while he was out at night. (Isn't he the sweetest assistant?!) Feel free to save and use this image. I created it using Photoshop Elements.


2. Cut your board to size. Then paint the edges and sides white and let it dry.


3. Brush a layer of mod podge on your board and then press your poster onto the board. Smooth out any bubbles and let dry.


See how shiny and neat it looks? We will fix that right now...

4. Use your sander or sand paper to distress the edges and across the flag. Distress as much as or as little as you wish!


I love how distressed and worn the the corners are!


5. Seal with another coat of mod podge on the top of your flag. Let dry. (actually, I skipped this step because I was being lazy. Usually I would seal my signs)


Now, a cute project just about doesn't get any easier than that!

The 4th of July word art was found at The Crafting Chicks where they so kindly shared the printable for free!

If you make one, be sure to let me know because I would love to see how it turns out. You can even post it to my facebook page for all to see!


Please be a fan of lil Mop Top on facebook!! I link up to these parties!

Jan 20, 2012

For ME Friday - Shabby Chic Sign

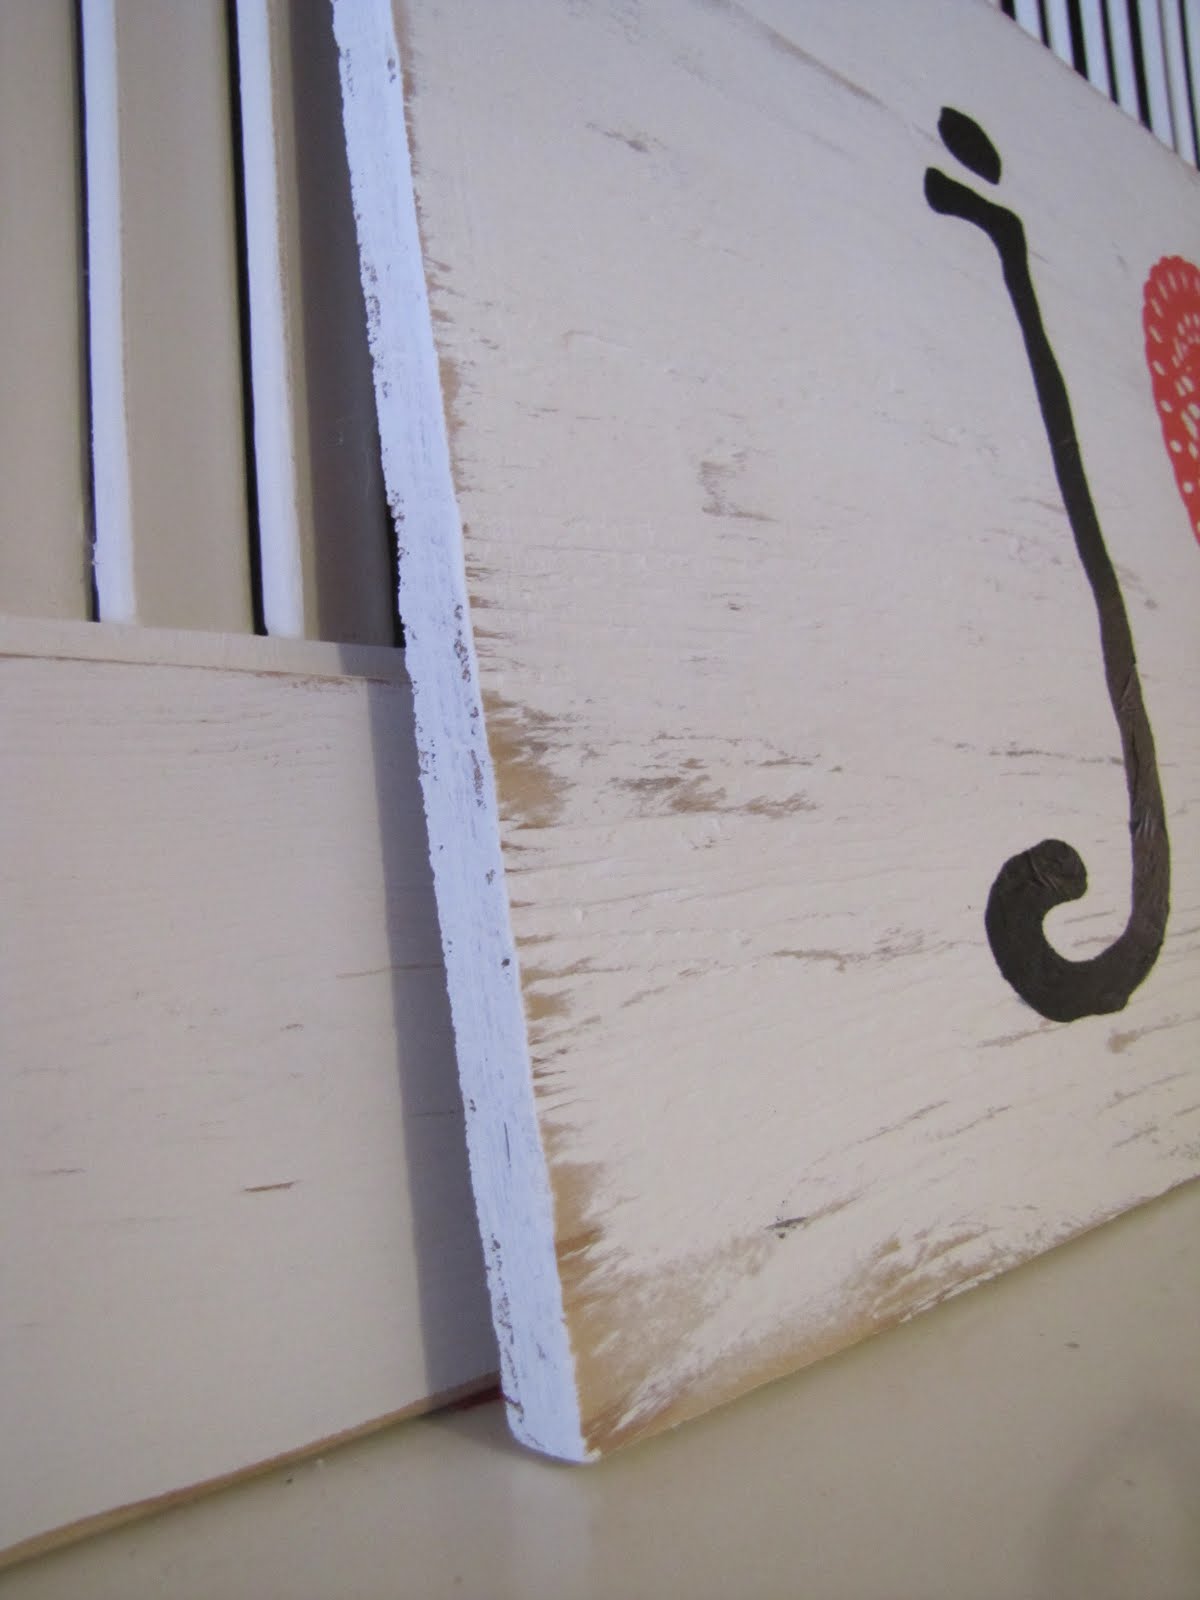
As per usual, I haven't done a crafty project for myself in a while. However, when cleaning out my craft closet this week, I found some wall decals I bought 5 or 6 years ago. Yes, you read that correctly. Five or six YEARS AGO. I bought these at a scrapbook store that was going out of business and thought I would use them to make something for my bedroom. Well, fast foward 5 or 6 years, and they were still in my closet packed away. Not anymore, my friends! Look at what I made for myself!!


Isn't it super cute?! I love how it is simple, yet pops on my mantel. I also love that it was one of those easy projects that I could put out on my kitchen counter and do the steps throughout the day while still taking care of the kiddos. I think one reason why I don't do a ton of projects is because if they are time intensive, I have to do them at night when the kids are sleeping and by then I don't feel like doing anything!

So here's how I made this easy sign.

Supplies:
scrap wood
paint, brush
heart doily (from the dollar store)
decals (can make your own with a cricut or silhouette...or scissors!)
sander or sand paper


1. I took a scrap piece of wood from the garage and painted it white. I used 2 coats.


2. After the paint dried, I used Brad's power sander to sand around the edges and distrss the wood a bit. And, you know, I should start saying it is MY power sander since I am pretty sure I have used it more than Brad has!


3. I used some spray glue to glue the heart onto the middle of the board. This glue is SUPER sticky. Like, doesn't come off your fingers sticky. So, definitely do the spraying outside. It is also better to spray the back of the heart away from the board, and then press the heart onto the board.


4. Using the directions of your decals (or vinyl), rub the letters onto the board.


*In case you didn't know, my name is Jen and my hubby is Brad. Thus, the 'j & b'. I will let you figure out why I didn't want 'b & j' on my mantel*

OPTIONAL- You can also mod podge over the entire board to seal it. However, I ran out of mod podge after my last sign (that I sold on Etsy! woohoo!) So, I left mine unsealed.


Side note- don't you love the distressed corners of the board?!


Don't you just love easy projects?! Like I said, I love how this looks on my mantel. I posted about my mantel earlier this week, but I think I really like the new setup WAY better. Don't you agree?


Please be a fan of lil Mop Top on facebook!! I link up to these parties!

Oct 20, 2011

Guest Blogger - Emily

Hi there lil Mop Top readers! My name is Emily from Refreshingly Chic and Denson Duet. I also happen to be Jen's sister. I am so excited to be guest posting today and sharing a fun and EASY project with you today! You will leave this blog knowing how to make these sweet clothes dividers which is perfect for nurseries!

>IMGP0992

But, first, I wanted to share a little bit about me. Most importantly, I just had a sweet little baby named Emma. She is only one month old, so having time to do crafty stuff is not really happening right now! But before Miss Emma arrived, I had been working with our other sister, Allison, on our furniture refinishing items for Refreshingly Chic's clients. We love taking old pieces and giving them a face lift and new life! At Denson Duet, I share ideas for wreaths, seasonal decorating, and more wreaths!


So, let's get started on today's project...

After seeing these adorable closet dividers on Pinterest (most addicting site in the world) I decided to give it the good old college try.  Thankfully, it was really easy to do.  Here is what you need:
IMGP0975IMGP0976IMGP0977

Go to Container Store (at least that is where I went!) and get as many dividers as you want.  They were $.99, so this is really all you will spend money on.  I got 5 because I didn’t think I would even need all 5, but it sounded like a good amount!  You also need scrapbook paper and Zots.  I am sure all of you crafter have this.  You could use any other kind of adhesive, but I thought Zots worked really well.

The first thing I did was trace one of the dividers onto computer paper and cut it out.  Then, I taped it to the actual divider and traced the inside lip on the paper.  I wanted the white to show a little but that is completely up to you.  After I cut it out to the right size I glued it to a a spare piece of cardstock and cut it out.  I wanted my template more sturdy so that I can use this again for baby shower gifts for friends.

IMGP0979IMGP0981IMGP0982

Now all you have to do is trace your template onto all the scrapbook papers that you wanted.  I did 10 pages so I would have enough for the front and backs of the dividers.  I can use them on either side of the closet!  After you trace, you cut… duh!  This was the longest process, which should show you that this is a very easy and quick project.

IMGP0983IMGP0984IMGP0985IMGP0986

With your Zots (or whatever you are using) glue the cut outs to the front and back of the dividers.  And, done!!!

I actually inked all the edges in light pink.  Not sure why but I did.

IMGP0989IMGP0990

And, here they are in Emma’s closet!!!

IMGP0991IMGP0992

All in all this was a super easy and cheap project!  Took me an hour total and cost me less than $6.  That, I can handle!


Please be a fan of lil Mop Top on facebook!! I link up to these parties!