Showing posts with label For ME Friday. Show all posts

Jan 20, 2012

For ME Friday - Shabby Chic Sign

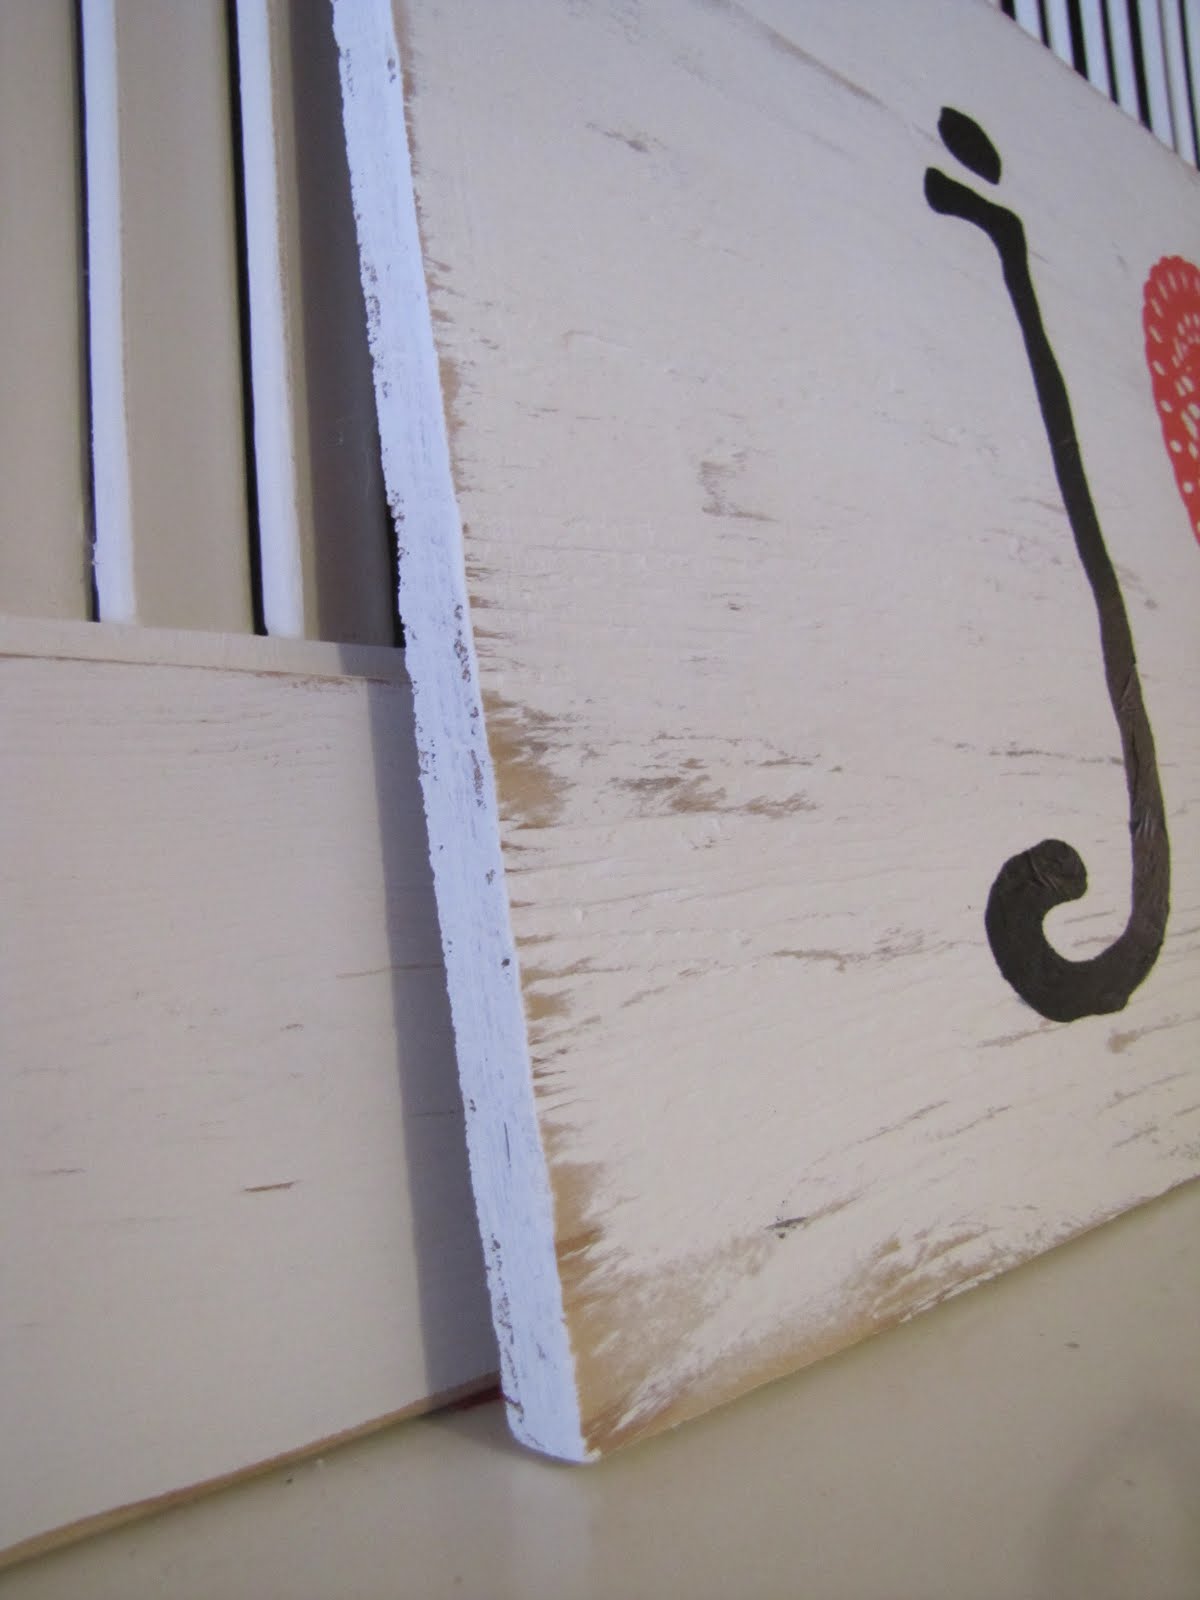
As per usual, I haven't done a crafty project for myself in a while. However, when cleaning out my craft closet this week, I found some wall decals I bought 5 or 6 years ago. Yes, you read that correctly. Five or six YEARS AGO. I bought these at a scrapbook store that was going out of business and thought I would use them to make something for my bedroom. Well, fast foward 5 or 6 years, and they were still in my closet packed away. Not anymore, my friends! Look at what I made for myself!!


Isn't it super cute?! I love how it is simple, yet pops on my mantel. I also love that it was one of those easy projects that I could put out on my kitchen counter and do the steps throughout the day while still taking care of the kiddos. I think one reason why I don't do a ton of projects is because if they are time intensive, I have to do them at night when the kids are sleeping and by then I don't feel like doing anything!

So here's how I made this easy sign.

Supplies:
scrap wood
paint, brush
heart doily (from the dollar store)
decals (can make your own with a cricut or silhouette...or scissors!)
sander or sand paper


1. I took a scrap piece of wood from the garage and painted it white. I used 2 coats.


2. After the paint dried, I used Brad's power sander to sand around the edges and distrss the wood a bit. And, you know, I should start saying it is MY power sander since I am pretty sure I have used it more than Brad has!


3. I used some spray glue to glue the heart onto the middle of the board. This glue is SUPER sticky. Like, doesn't come off your fingers sticky. So, definitely do the spraying outside. It is also better to spray the back of the heart away from the board, and then press the heart onto the board.


4. Using the directions of your decals (or vinyl), rub the letters onto the board.


*In case you didn't know, my name is Jen and my hubby is Brad. Thus, the 'j & b'. I will let you figure out why I didn't want 'b & j' on my mantel*

OPTIONAL- You can also mod podge over the entire board to seal it. However, I ran out of mod podge after my last sign (that I sold on Etsy! woohoo!) So, I left mine unsealed.


Side note- don't you love the distressed corners of the board?!


Don't you just love easy projects?! Like I said, I love how this looks on my mantel. I posted about my mantel earlier this week, but I think I really like the new setup WAY better. Don't you agree?


Please be a fan of lil Mop Top on facebook!! I link up to these parties!

Sep 30, 2011

For ME Friday - Halloween Mantel

Woohoo for Friday! I am super excited about this weekend because my best friend is in town and we are partying it up this weekend! (which means I will be up past my usual 10pm bedtime!)

Anywho, I have another For ME Friday post. A couple weeks ago my neighbor threw away this perfectly good shutter:


I am talking this bad boy had it's price tag on it still and was in perfect condition. It was also huge! The shutter was sitting by the garbage for a couple days before I was brave enough to take it back to my house...while taking Matthew on a walk so I had to tuck it under my arm while pushing the stroller and hoping no one saw me!

Anyways, I painted it white and distressed it with Brad's power sander. Very very easy! Brad attatched it to the wall above the mantel and I added some other randomly aquired Halloween/Fall themed items. Some items were from garage sales, some from the dollar store, and some were gifts from my mom over the years. I made the boo bunting last year for my Halloween party and thought it looked cute on the shutter.


I usually don't do a whole lot of decorating for holidays, but I like how this turned out and when I see it, it makes me happy! Now if I can just get the rest of the house in order...


Please be a fan of lil Mop Top on facebook!! I link up to these parties!

Sep 2, 2011

For ME Friday - ruffle apron {tutorial}

Thanks to John being in preschool and my MIL kindly taking Matthew for the day, I had time to craft FOR ME yesterday! Looky what I made!


So, here's the deal. I hate regular aprons. For some reason when I am in the kitchen my hands are ALWAYS dirty or wet. So I need something that actually absorbs all that mess. Normal aprons just don't cut it. I also seem to use about 235 dish towels while I am cooking and baking. Mostly because I set one down, can't find it in the mess and grab a new one from the drawer. By the time our meal is cooked and the kitchen is cleaned up, 5 dish towels have been added to the laundry. Soooooo, I decided to make an apron out of a dish towel so I knew where it was at all times and it was the nice, soft, absorbant material I was looking for. I got this particular towel in February from my mom, thus the Valentine's hearts print. So I have been sitting on this idea for a while! :)

Now that you have been sufficiently prepped on the back story, here is how to make your very own ruffle dish towel apron!

1. Gather supplies: Dish Towel (duh), ribbon (wish I had wider on hand today), scrap fabric for ruffles, normal sewing items (double duh).


2. Measure how much ribbon you need by wrapping it around your waist. Fold in half to find center (long ways). Fold dish towel in half (short ways) to find center. Pin the ribbon along the top edge (long ways) of the dish towel, making sure to line up the center of the ribbon to the center of the dish towel.


3. Sew your ribbon onto the towel. I did a zig zag stitch down the center. I also zig zagged the ends to keep the ribbon from fraying in wash.

4. You could stop now and have the easiest apron EVER. I decided I don't get to sew girlie stuff often considering I have two boys, so I added some fun ruffles to my apron. To do this I cut two strips of coordinating scrap fabric and sew them into one long strip. I needed two strips since the fabric piece was small. You may only need one long strip!


5. Fold in half and iron.


6. Sew along the edge of the folded side to give a nice finished look.

7. Time to ruffle! Sew along the open side using the longest stitch and tightest tension. That should make a cute little ruffled strip of fabric.


8. Pin the ruffle to the right side of the bottom edge of the apron. Pin it sew the ruffled seam is at the edge of the apron and the finished edge is toward the center of the apron. Then sew. DON'T FORGET to reset your machine!! I always forget to do this...boo...


9. I then flipped the ruffle down so it was facing the correct way and sewed on the right side of the apron to keep the ruffle laying flat and not flipping back up. You can see that seam in the picture- I sewed on the dish towel itself.


10. Put on the apron, have your husband take 500 pictures in attempts to get one that magically makes you look thinner, magically puts make-up on you and magically makes your hair look decent even though it is 7:00 at night so it is pretty crazy. Good luck with this step. It is a challenging one.


So, I haven't used this apron yet but I KNOW it is going to be awesome the next time I am cooking. And yes, Mom, I have been cooking!

I think I like the apron so much I need to make some more...but maybe without the ruffles.


Please be a fan of lil Mop Top on facebook!! I link up to these parties!

Aug 19, 2011

For ME Friday - More than a Kitchen

Well, this isn't a tangible For Me Friday project, but more of a meaningful one. My friend, Kendra, is hosting a contest on her facebook page. The contest is enter a photo that would fit the theme 'Kiddos in the Kitchen'. Whoever gets the most votes wins a child apron and possibly some baking goodies. Very fun! Please go vote for John HERE.

So, I went searching through my old photos trying to find something worthy of sending in. Well, I realized that our kitchen is more than a place for making a meal. The kitchen means much much more at our home.

Even before having the boys, I remember having date nights in which Brad and I made dessert together and then watched a movie on the couch. He makes the BEST chocolate chip cookies so these are still some of my favorite dates with him.


Once we had the boys, the kitchen has turned into the action zone. This is where we bake together for special occassions and holidays. Brad is teaching the boys how to make the famous Brown chocolate chip cookies already! I love having started traditions with my family, such as making Easter Bread, that I loved doing as a child with my family. I truly enjoy the times we bake just for fun (or if it fits the tot school theme!). John doesn't actually eat what we make, but that is just more for me to feel guitly about eating.


This is where I started doing tot school with John. We have done many a lesson here with lots of messy arts and crafts. Matty B joined us when he was just a baby, although he slept through much of it! He continues to be part of the action even if all he can do is chew on a spatula or play with the measuring cups...or make art work with his food.


We thankfully are one of those dorky families who eat all our meals together as a family. Well, obviously Brad isn't with us at breakfast and lunch during the week, but you get my drift. I love having a relaxing breakfast with the boys every morning. (Is it really possible to have a relaxing meal with two toddlers?). John will NOT branch out of his morning breakfast so the boys have a plain waffle and yogurt EVERY morning. Matthew gets some fruit and sometimes Cheerios because he will eat anything. However, I don't really feel like making 3 different breakfasts every morning so we kind of go with what John wants. Sometimes we make pancakes but that is adventureous as John gets. Either way, I love seeing their messy faces each morning as we start the day together. I love seeing their messy faces at night when we are a family of four and sharing stories of the day.


So after looking at HUNDREDS of photos I have saved on an external hard drive, I think that the kitchen in this house is one of my favorite rooms and will hold many many special memories to me.

Do you have a favorite room in your in your home that has special meaning to your?


Please be a fan of lil Mop Top on facebook!! I link up to these parties!