Last week we started our Valentine's Day activities for John's tot school. This consisted of working with the letter H, letter V, hearts, and hippos. Hippos is pretty random, but I was using
Letter of the Week curriculum and there were some hippo activities already ready to go...and we got hippo books at the library since ALL the Valentine's day books were checked out! Note to self: check out the next holiday books several weeks early before they are gone! :) We were only able to work on school stuff for three days this week, so we tried to cram in as much as we could!
John sorted upper and lower case H from
LOTW. He lost interest pretty quickly though! You can also kind of see in the picture below that I took a big picture of a hippo and cut it into four pieces to see if he could put together the puzzle. He is still in his new phase of wanting me to do everything for him, so he wasn't too into the puzzle! (he also wasn't into me taking pictures of him last week, which is why he isn't in a lot of the pics!)

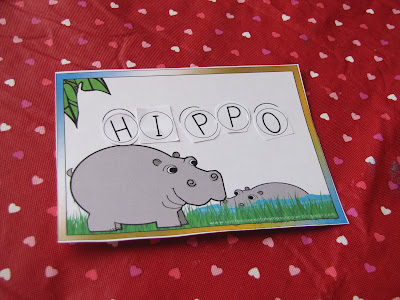
We spelled hippo using
LOTW.
Using heart stickers from the dollar store, we did our first graphing activity. I was excited because I am a big math nerd. Another 'Mommy do' activity, but he could tell me where to put each heart and helped me count them at the end. I used the heart graphing page from Musings of Me in her Valentine's unit.

I used a heart shaped cookie cutter for a lot of his food this week. Here is his eating banana hearts (while trying to escape the camera!). It is amazing how if I cut his food into a heart, he ate every bit...even foods he hadn't been eating lately! Kids are so funny sometimes!

Brad drilled holes in an old formula container so John could use heart picks (from the dollar store) to put in the holes. This activity was the first tray he went to last week!


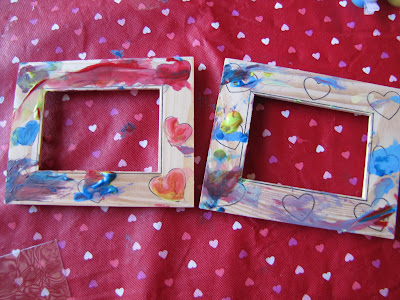
I found these cute little wooden heart frames from the dollar spot at Target so John painted them for Valentine's presents for Grandma, Grandpa, and Nana. They turned out cute and he was entertained with it for quite a while! He was so cute using the paint brush and he did really well since the paint container was so small. He eventually stuck his fingers in the paint and finger painted. I thought it was well worth the $3- three frames, three brushes, three sets of paint and LOTS of entertainment!

I got more pom poms at the dollar store (our last package of pom poms have mysteriously disappeared and are lost around the house somewhere!). I thought John could put a pom pom on each heart on this page from Musings of Me . As you can see from the picture, he really just wanted to dump them out and play with them. I think he did about one of them 'correctly' but at least he had fun!

 I got two packs of Valentine's themed erasers and thought John could sort them in his muffin tin. Again, he wasn't interested in sorting (maybe there were too many erasers and overwhelming to sort?) but he really enjoyed putting the erasers in the tin and then back into the bowl. Between this activity and the pom poms, I think it is a huge hint that John needs a sensory bin with our next theme. I have just been too lazy recently to put one together. :(


John practiced putting number cards in order. He is getting MUCH better at this! He can count aloud from 1-10 perfectly and almost all the way to 20, but putting actual numbered items in order is still a challenge for him. I can see a big improvement though as he is getting older and as we have been practicing each week! These cards are from
here. Sorry for the sideways picture. Blogger is so odd sometimes!

Other things we did last week that didn't get photographed: playing with heart shaped cookie cutters, coloring hearts page from MooMoo's & Tutus 'H is for Heart' unit, and playing with the fridge phonics.
And that wraps up last week! We had a fun Valentine's party at our house on Saturday (look for a post on that soon!) and this week we will continue to do more Valentine's-ish activities. We are again on a shortened week so hopefully we get everything done. I may have gone a little overboard on my Valentine's activity planning... :)
I link up to these parties!


