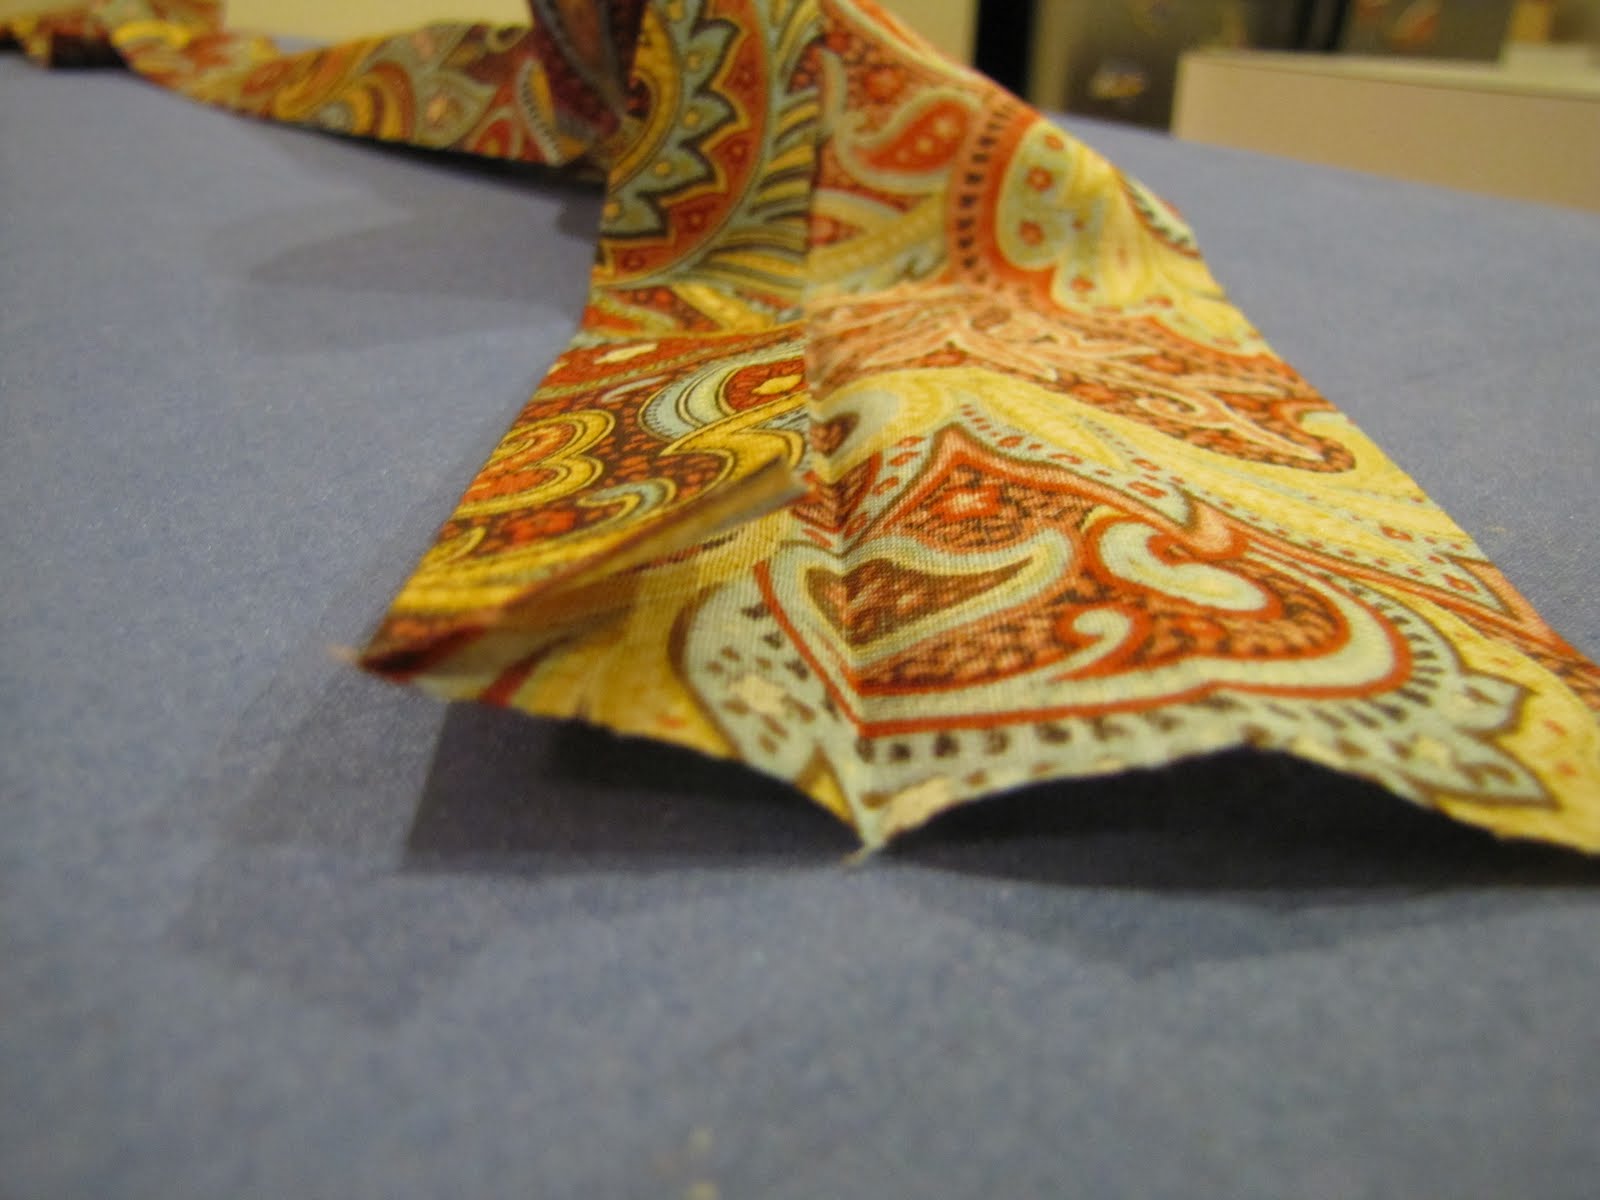
For my mother-in-law's birthday I made her a ruffled lanyard for her work ID. It turned out pretty decent for my first try...and considering I was trying to cover a lanyard I already had! I wanted to use a lanyard I had on hand so that I didn't have to buy metal clasps and fasteners, and REUSE, REDUCE, RECYCLE!

So, here is how I made the lanyard:
I used scrap fabric and a SMU lanyard I got when I went to a cheer camp. (wow- hanging onto all my cheer coach stuff is
starting to pay off!) Sorry SMU, I like you and all, but you are getting covered! :)

1. I measured and cut the first piece of my fabric so that it was twice as long as the lanyard and 4 times the width. This piece will be for the ruffle so it needed to be pretty long.

2. Iron the strip of fabric in half, wrong sides together.

3. Open the fabric. Then take each edge and fold it to the crease you just made in step #1. Iron each fold. (the pic below shows one edge being folded to the crease. Do both sides)
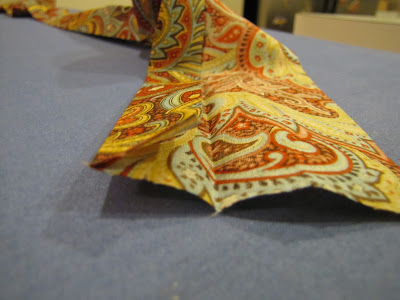
4. Now fold the strip back in half so that the edges are all tucked in towards the center fold and the right side of the fabric are facing out. Sew along all four edges of this long strip of fabric.
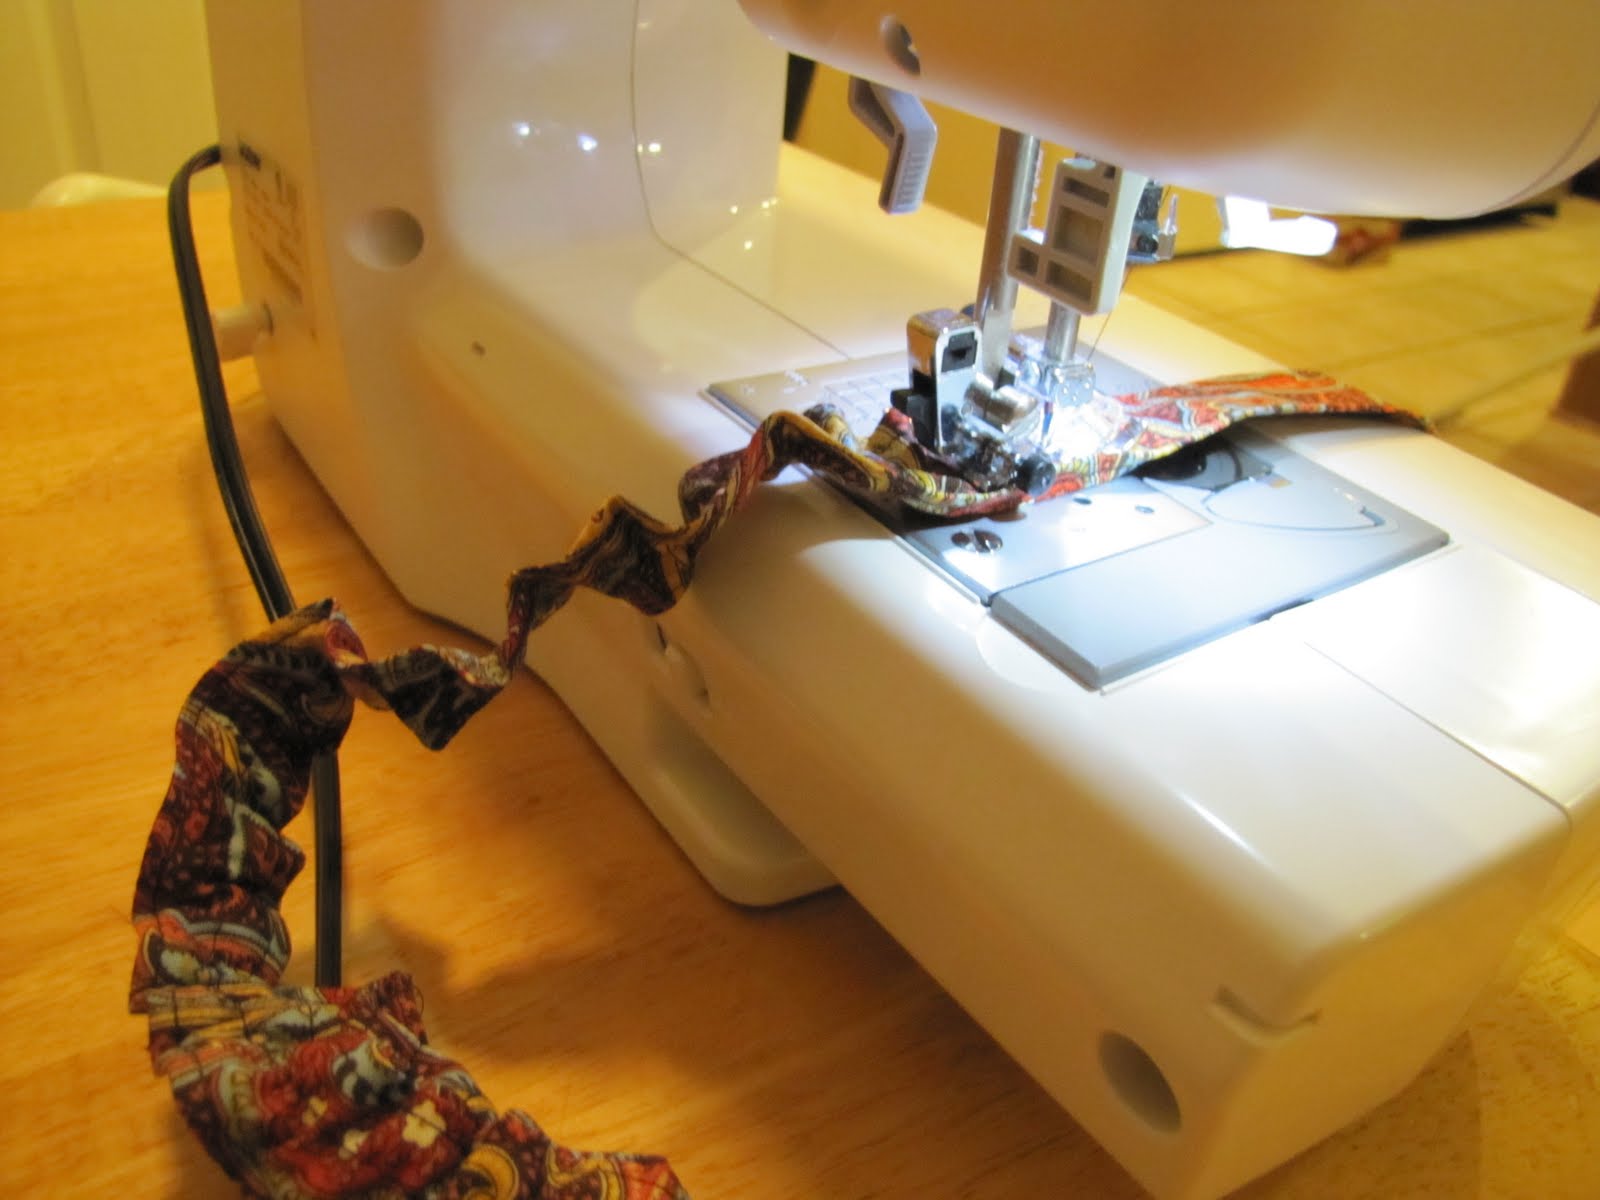
5. Set your machine to the longest stitch possible and the tightest tension. Sew along the middle of the strip of fabric to ruffle it up. This is so fun and will make you want to add ruffles to your next 20 projects! Do not backstitch at the beginning or end so you can adjust the ruffle as necessary.

6. Cut a second piece of fabric so it is as long as your lanyard (plus about an inch for seams) and double the width (plus about an inch for seams). Fold in half and iron.
7. Open the fabric and pin your ruffled piece to one side of the fold.

8. Sew the ruffle to the 2nd piece of fabric, making sure to keep that 2nd piece unfolded as you sew.
9. Now put right sides together of the 2nd piece and sew along the long side, keeping the short sides open. This will make a long tube. Turn right side out. Turning it right side out is a HUGE pain!! Power through!!!!
***OPTIONAL STEP*** I topstiched the edges of my pieces using a zipper foot. Not sure if I would do that again, but I thought it might keep the ruffled side from twisting around.
10. Cut your original lanyard about 2 inches from the metal fastener.

11. Thread the original lanyard through the slip cover. Once you get it to the end, tuck in the ends of the slip cover (kind of making a hem) and sew across to keep it attached to the lanyard. (**At this point, make SURE the opposite end of the lanyard isn't getting pulled through the slip cover. If it gets pulled through, you to have to take off the slip cover and re-thread!**)

12. Pin the lanyard back together and sew together with some zig zag stitches.

13. Pull the slip cover to the end that you haven't sewn yet, tuck under the slip cover, and sew in place like you did in step #11.
Done and done!

I am not loving the fact that the original lanyard color doesn't match the fabric at all. I should have thought about that at the beginning, but I am not that smart and I wasn't about to redo the whole project!
Doesn't it look lovely on my model, my husband?

No, you say? Well, let's see if he can take a picture of me with the ruffle goodness.
Hmmm...what was he trying to take a picture of?!

At this point I said 'just take a picture of me, including my face'. I kid you not- he immediately looked at my hair and said 'you want that in the picture?'. So sweet!

and yes, my husband was right, not the best picture of me! :)

I link up to
these parties!