Showing posts with label sewing. Show all posts

Oct 17, 2011

Dinosaur Costume

Can you believe Halloween is almost here?! I have been a slacker and haven't done any fall/halloween activities with the boys. :( I did, however, make a costume for John! He has been saying for about a month he wanted to be a clown for Halloween. I kept asking him hoping he would change his mind and FINALLY he said he wanted to be a dinosaur. WAY cuter than clown! So, I made him this cute costume.


Now, before you think I am super creative, I totally got the intructions for the hoodie from DIYing to be Domestic. The only thing I added was the grey felt to the tummy. Since she has very easy instructions, there is no need for me to type them up!

I got the basic idea for the tail from The Train to Crazy but modified it slightly. I didn't make the waist band. Instead I sewed mitten clip thingies on the end of the tail and clipped the tail to John's shirt under the hoodie. Very simple.

So, starting with this plain hoodie from Walmart...


came this sweet stegosaurus...


And let me tell you, John LOVED this costume! He wants to wear it all the time. I was worried I would put in all this hard work (all 60 minutes of it!!!) and he wouldn't wear it. So, I consider this a total success. I thought I might rip out all the stitches after Halloween and get this back to the original blue hoodie so he can wear it, but my sister said it was so cute and he could wear it as it. Well, we might just do that. John can be a cute dino all winter long!


Please be a fan of lil Mop Top on facebook!! I link up to these parties!

Sep 2, 2011

For ME Friday - ruffle apron {tutorial}

Thanks to John being in preschool and my MIL kindly taking Matthew for the day, I had time to craft FOR ME yesterday! Looky what I made!


So, here's the deal. I hate regular aprons. For some reason when I am in the kitchen my hands are ALWAYS dirty or wet. So I need something that actually absorbs all that mess. Normal aprons just don't cut it. I also seem to use about 235 dish towels while I am cooking and baking. Mostly because I set one down, can't find it in the mess and grab a new one from the drawer. By the time our meal is cooked and the kitchen is cleaned up, 5 dish towels have been added to the laundry. Soooooo, I decided to make an apron out of a dish towel so I knew where it was at all times and it was the nice, soft, absorbant material I was looking for. I got this particular towel in February from my mom, thus the Valentine's hearts print. So I have been sitting on this idea for a while! :)

Now that you have been sufficiently prepped on the back story, here is how to make your very own ruffle dish towel apron!

1. Gather supplies: Dish Towel (duh), ribbon (wish I had wider on hand today), scrap fabric for ruffles, normal sewing items (double duh).


2. Measure how much ribbon you need by wrapping it around your waist. Fold in half to find center (long ways). Fold dish towel in half (short ways) to find center. Pin the ribbon along the top edge (long ways) of the dish towel, making sure to line up the center of the ribbon to the center of the dish towel.


3. Sew your ribbon onto the towel. I did a zig zag stitch down the center. I also zig zagged the ends to keep the ribbon from fraying in wash.

4. You could stop now and have the easiest apron EVER. I decided I don't get to sew girlie stuff often considering I have two boys, so I added some fun ruffles to my apron. To do this I cut two strips of coordinating scrap fabric and sew them into one long strip. I needed two strips since the fabric piece was small. You may only need one long strip!


5. Fold in half and iron.


6. Sew along the edge of the folded side to give a nice finished look.

7. Time to ruffle! Sew along the open side using the longest stitch and tightest tension. That should make a cute little ruffled strip of fabric.


8. Pin the ruffle to the right side of the bottom edge of the apron. Pin it sew the ruffled seam is at the edge of the apron and the finished edge is toward the center of the apron. Then sew. DON'T FORGET to reset your machine!! I always forget to do this...boo...


9. I then flipped the ruffle down so it was facing the correct way and sewed on the right side of the apron to keep the ruffle laying flat and not flipping back up. You can see that seam in the picture- I sewed on the dish towel itself.


10. Put on the apron, have your husband take 500 pictures in attempts to get one that magically makes you look thinner, magically puts make-up on you and magically makes your hair look decent even though it is 7:00 at night so it is pretty crazy. Good luck with this step. It is a challenging one.


So, I haven't used this apron yet but I KNOW it is going to be awesome the next time I am cooking. And yes, Mom, I have been cooking!

I think I like the apron so much I need to make some more...but maybe without the ruffles.


Please be a fan of lil Mop Top on facebook!! I link up to these parties!

Mar 28, 2011

Ruffle Apron Tutorial {stashbusting!}

Welcome friends from The T-shirt Diaries!! I am so excited to share how I made this cute apron using only supplies I had in my stash of crafty stuff. I think it turned out really cute and my niece will look like an absolute doll in it when she is doing her arts & crafts! I lined it with a thick cotton (or maybe it is canvas?) so that way when Bella is working on a messy project, her clothes are still protected because the cute fabric was pretty thin.


So, here's the deal. This is probably the most detailed item I have sewn so there are quite a bit of steps. I am usually a sew straight-line-projects-only kind of girl so this was certainly a bit more challenging for me to figure out as I went along. So I hope I don't scare anyone off BUT if I can handle it, then I am pretty sure anyone can tackle this little project. There are lots of optional fun frilly stuff I added on the apron so a newbie can pare down the project and make it much easier!

Let's get to it!!!!

Supplies:
-super cute fabric
-thicker canvas type fabric for backing
-3rd complimentary fabric for waist band
-ribbon
-fusing
-normal sewing supplies (including a heavy duty needle)!!

1. Cutting your pieces:
Using the thick backing, I traced an apron I already had so I could use that as my pattern.


I only traced the right half of the apron, marked the half-way paint at the top and then folded the material over vertically. Then I cut both layers along the marks I made. When I unfold it, ta da!!, we now have a full (and hopefully symmetric!) apron piece.


I used the piece I just cut as a pattern to cut out the front piece of the apron using your super cute fabric.


2. Making the decorative waist band:

I cut out a strip of my brown material for the waist band. My finished band was about 2 inches so I cut it 2.5 inches wide so I could fold the edges under for a nice finished edge. You can adjust the width of this band relative to how wide your ribbon is! After folding under the edges and ironing those edges down, follow instructions on the package for the fusing to iron it to the apron. I kind of guessed where to put the waist band compared to where the ties were on the original apron (and guessed a little too high!).


I measured the original apron ties and distance across the belly of the apron and cut my ribbon to that total length. Then I pinned the ribbon across the waist of the apron, making sure the ribbon was placed evenly so the ties will be the same length on each side of the apron.


Now it is time to sew! Sew down the edges of our waist band (my brown piece) and sew along the edges of the ribbon. DO NOT sew the edges of the ribbon all the way to the edge of the apron (see picture!) because you need to save room for the seam allowance and you don't want the ribbon to get sewn into the seams. At least I don't think that will work, but I am no expert on sewing! :)


3. Ruffle Time!

I wanted for this apron to have a pretty substantial ruffle trim. So I made long strips that were about 4 inches wide. You will probably need the length strip to be 2-3 times the distance around the edge of the apron. I had to sew two lengths together since I was using scrap material! Then I folded them in half, wrong sides together, and pressed.


Set your machine stitch as long as it will go and the tension as tight as it will go. Sew along the non-folded edge of your strips to ruffle those pieces up. This was my favorite part of the project!

Now pin the ruffle onto the right side of the front piece of your apron so that the non-folded edge is along the edge of the apron. Your folded edge of the apron should be towards the center of the apron. I only put the ruffle from waist band to waist band and not on the 'chest' portion of the apron. Sew along edge.


4. Adding Neck Ties:

Cut two pieces of your ribbon for the neck ties. Each of my ties were about 8 inches, but this will probably depend on how big your child is! Pin each tie face down to the top edge of the apron.


Since we are about to sew in the lining, I took all the ribbons and pinned them to the center of the apron so they were out of the way and wouldn't accidentally get sewn into a seam somewhere.


5. Sewing the Lining:

Almost done now! At this point, you will probably want to use a heavy duty needle on your machine!

Place your front apron piece face up on the floor (or table if you are fancy and have lots of space!). Then place the lining face down atop the lining piece. Pin together. Sew around the edge, leaving a 2-3 inch opening to turn the apron right side out.


Trim excess material around the edges and clip corners. Turn the apron right side out and use a pointed item to turn out edges. Then iron to get the seams nice and neatly lined up. Pin the hole and top stitch all the way around so the hole is sewn closed and there is a nice finihsed edges around the apron.

6. Finishing the Ribbons:

Lastly, you will want to sew the edges of the ribbons to keep them from fraying. I just folded each end two times and ziz zag stitched the ends. Very easy!


Done, done, done!!


Wowee...that was a longer project than I usually do but it was well worth it! If I was more confident that this was going work out well, I would have appliqued 'Bella' on the lining to make this a reversible apron. Or I could have used a freezer paper stencil to paint her name on it. Oh well...maybe next time!

Good luck! I hope these directions make sense. If you make an apron, I would love to see how yours turned out!


I link up to these parties!

Mar 11, 2011

in case you were wondering...

My sis sent a picture of the camera now all dressed up with the camera strap cover I made for her. So in case you were wondering, here is how it turned out in action!


I link up to these parties!

Mar 3, 2011

Camera Strap Slip Cover

Remember the ruffled lanyard I posted about yesterday? Well, I used the same basic idea to make my sister a camera strap slip cover. It turned out really really cute, although I haven't seen it on her actual camera yet. :) Hopefully it fit ok!


The funniest part of the present is that her husband uses the camera too. I bet he LOVES have a pink ruffled strap now!!


I link up to these parties!

Mar 1, 2011

Ruffled Lanyard {tutorial}

For my mother-in-law's birthday I made her a ruffled lanyard for her work ID. It turned out pretty decent for my first try...and considering I was trying to cover a lanyard I already had! I wanted to use a lanyard I had on hand so that I didn't have to buy metal clasps and fasteners, and REUSE, REDUCE, RECYCLE!


So, here is how I made the lanyard:

I used scrap fabric and a SMU lanyard I got when I went to a cheer camp. (wow- hanging onto all my cheer coach stuff is starting to pay off!) Sorry SMU, I like you and all, but you are getting covered! :)


1. I measured and cut the first piece of my fabric so that it was twice as long as the lanyard and 4 times the width. This piece will be for the ruffle so it needed to be pretty long.


2. Iron the strip of fabric in half, wrong sides together.


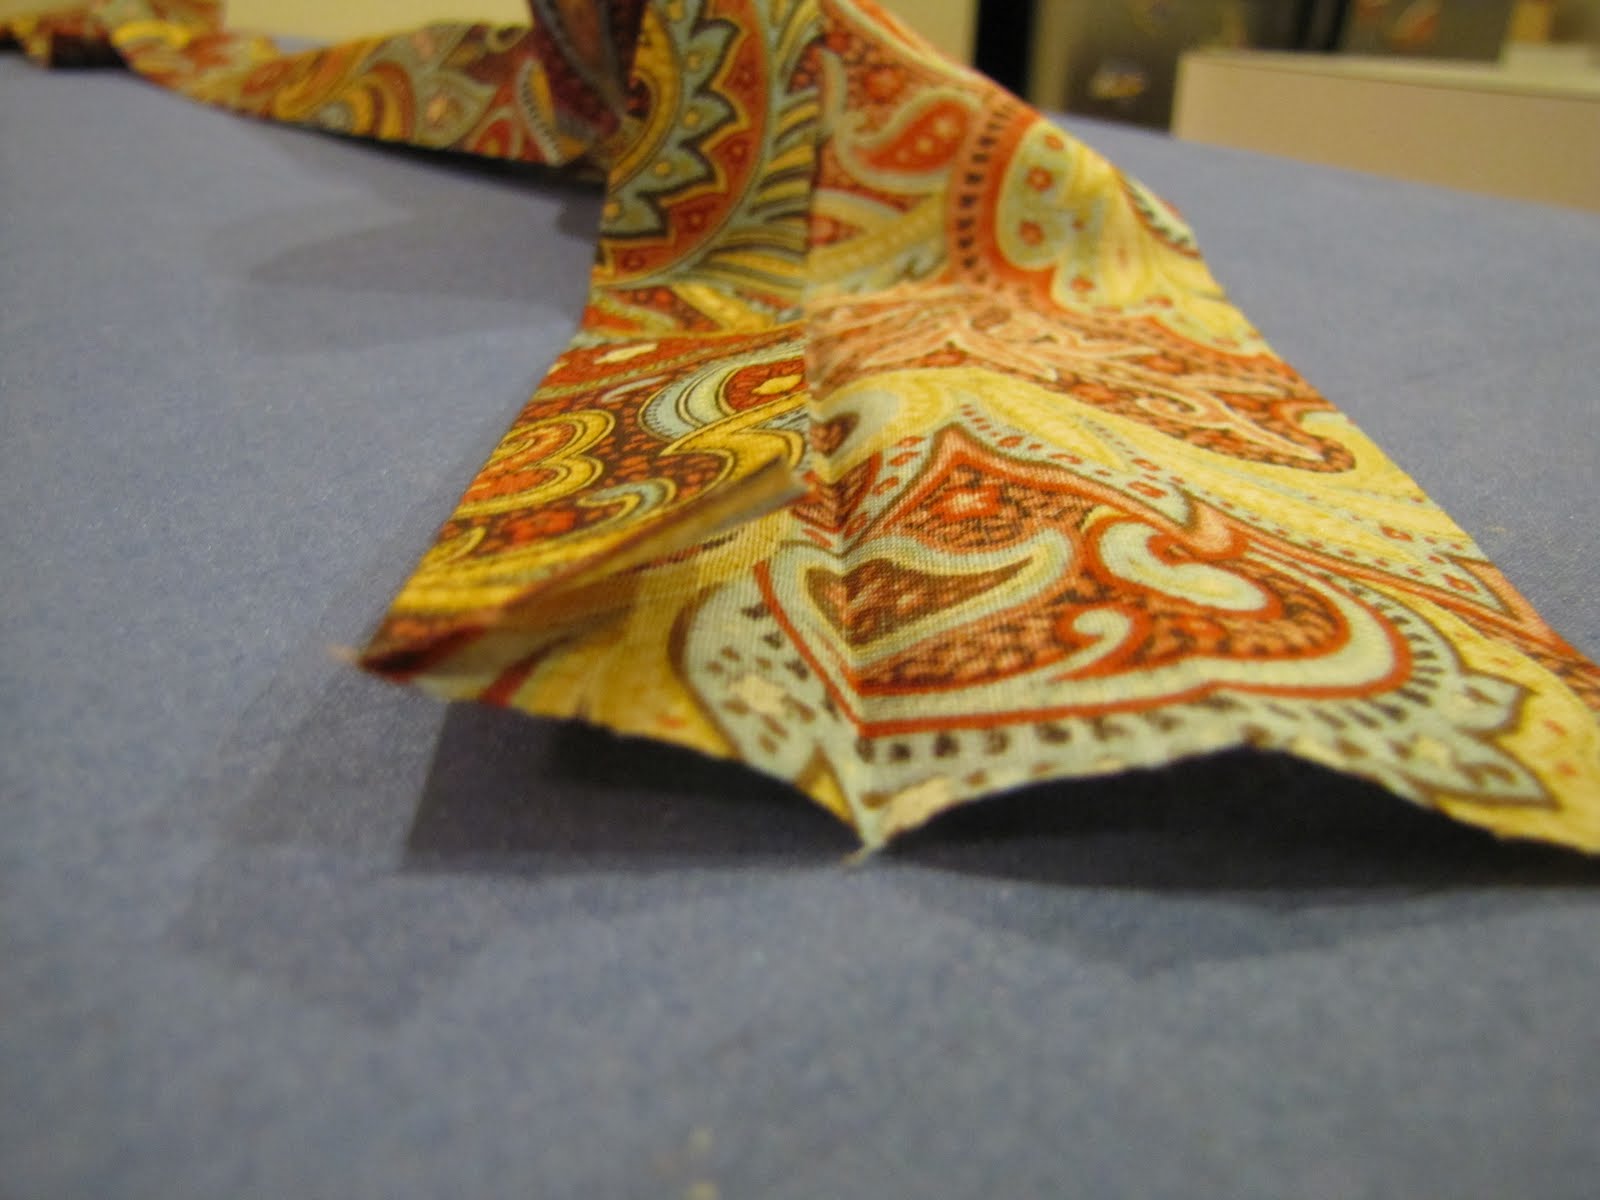
3. Open the fabric. Then take each edge and fold it to the crease you just made in step #1. Iron each fold. (the pic below shows one edge being folded to the crease. Do both sides)


4. Now fold the strip back in half so that the edges are all tucked in towards the center fold and the right side of the fabric are facing out. Sew along all four edges of this long strip of fabric.

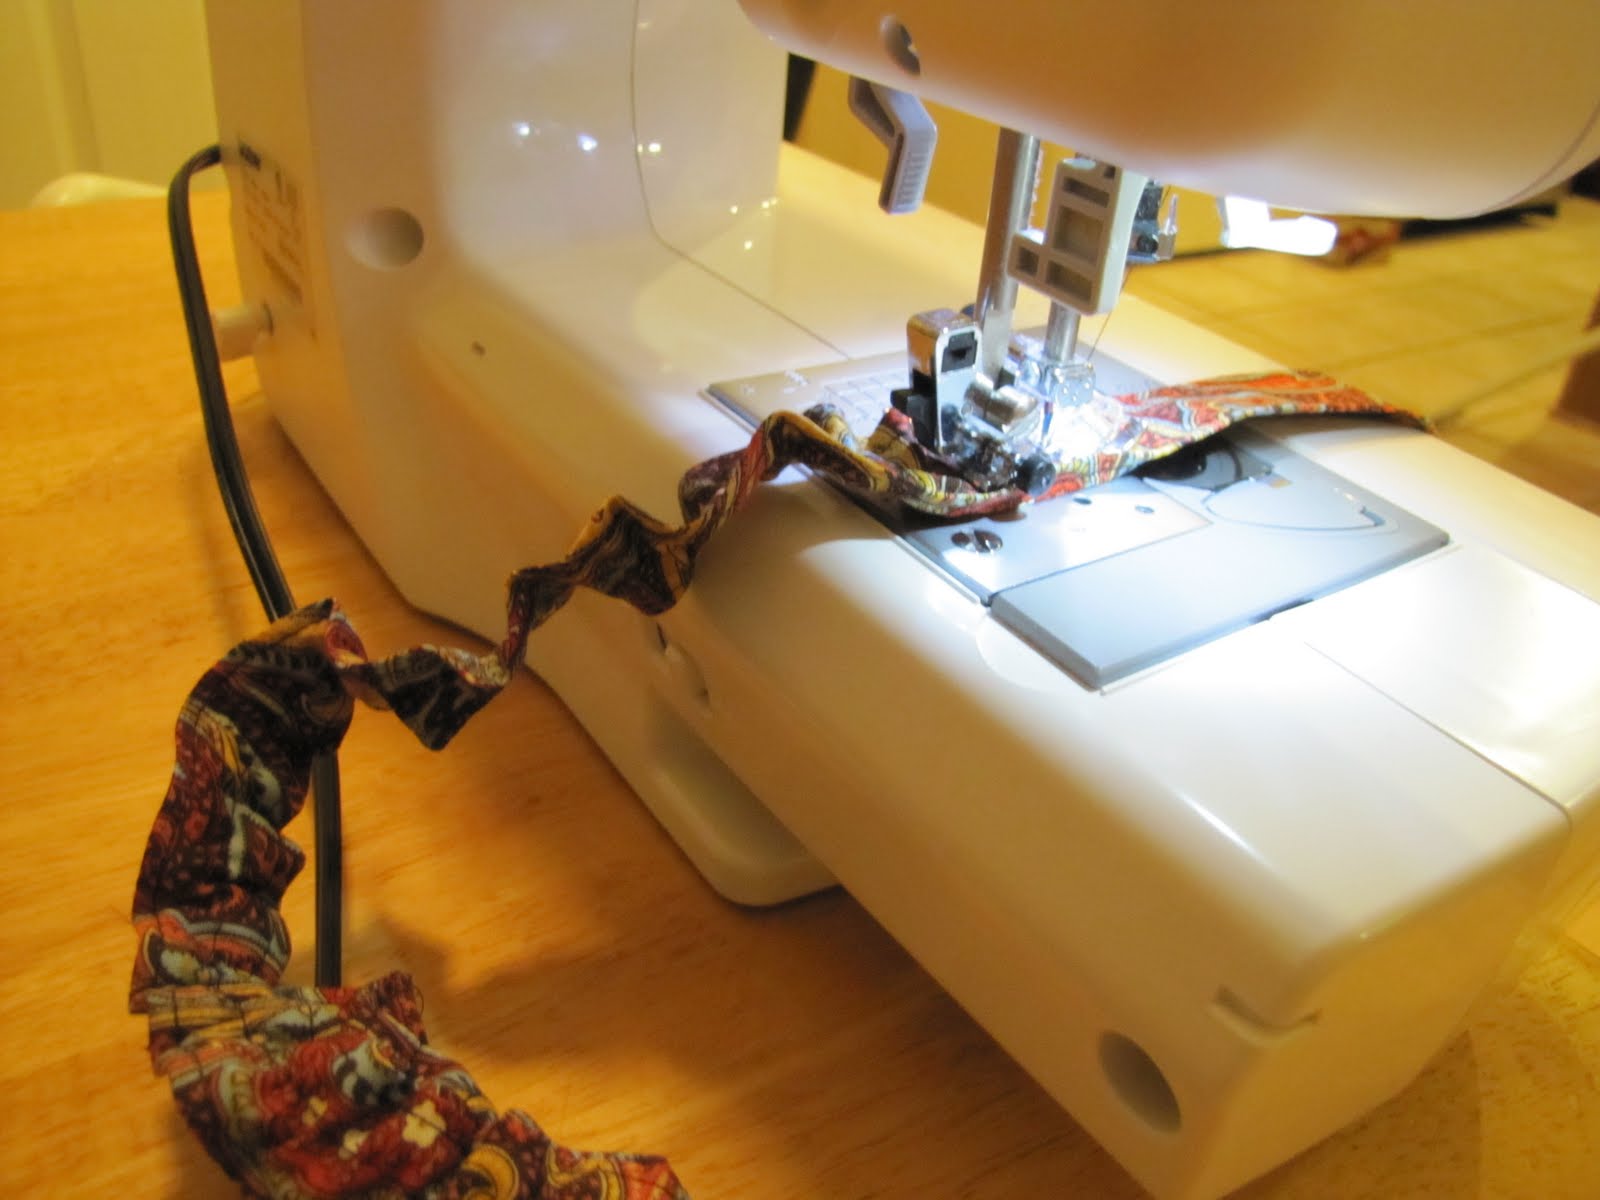
5. Set your machine to the longest stitch possible and the tightest tension. Sew along the middle of the strip of fabric to ruffle it up. This is so fun and will make you want to add ruffles to your next 20 projects! Do not backstitch at the beginning or end so you can adjust the ruffle as necessary.


6. Cut a second piece of fabric so it is as long as your lanyard (plus about an inch for seams) and double the width (plus about an inch for seams). Fold in half and iron.

7. Open the fabric and pin your ruffled piece to one side of the fold.


8. Sew the ruffle to the 2nd piece of fabric, making sure to keep that 2nd piece unfolded as you sew.

9. Now put right sides together of the 2nd piece and sew along the long side, keeping the short sides open. This will make a long tube. Turn right side out. Turning it right side out is a HUGE pain!! Power through!!!!

***OPTIONAL STEP*** I topstiched the edges of my pieces using a zipper foot. Not sure if I would do that again, but I thought it might keep the ruffled side from twisting around.

10. Cut your original lanyard about 2 inches from the metal fastener.


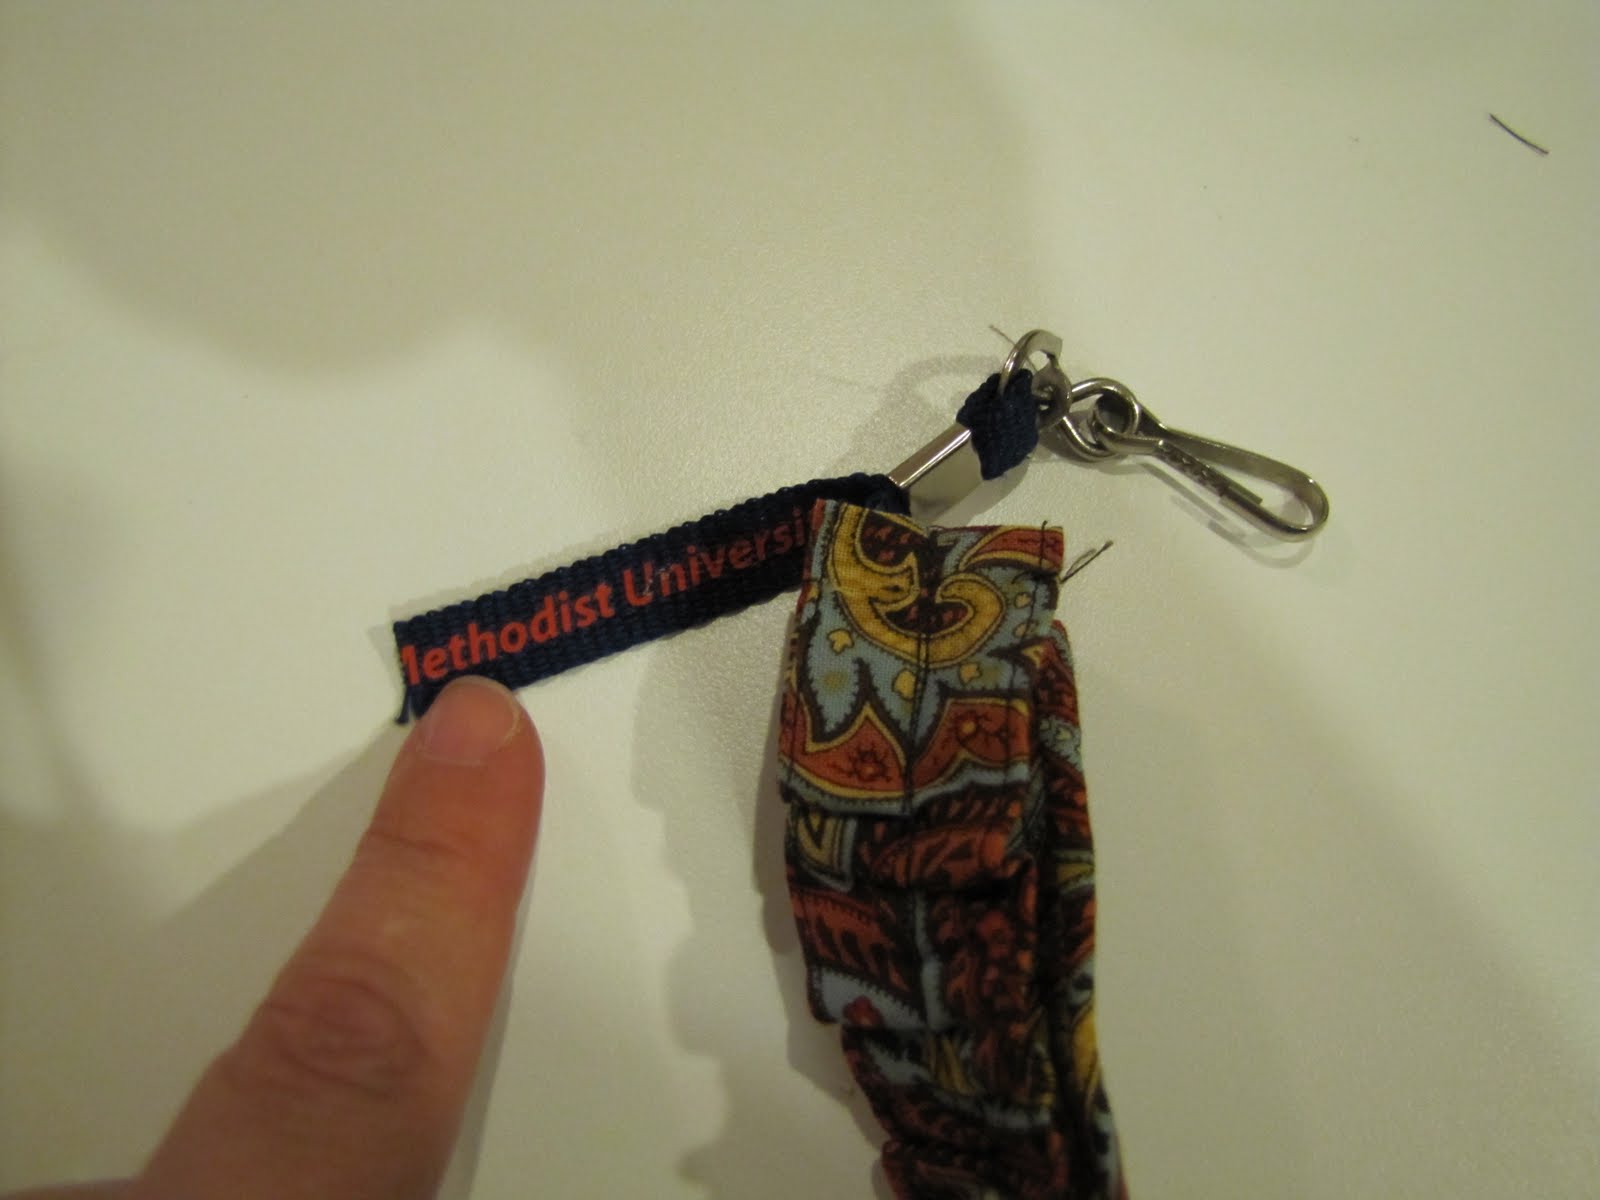
11. Thread the original lanyard through the slip cover. Once you get it to the end, tuck in the ends of the slip cover (kind of making a hem) and sew across to keep it attached to the lanyard. (**At this point, make SURE the opposite end of the lanyard isn't getting pulled through the slip cover. If it gets pulled through, you to have to take off the slip cover and re-thread!**)


12. Pin the lanyard back together and sew together with some zig zag stitches.


13. Pull the slip cover to the end that you haven't sewn yet, tuck under the slip cover, and sew in place like you did in step #11.

Done and done!


I am not loving the fact that the original lanyard color doesn't match the fabric at all. I should have thought about that at the beginning, but I am not that smart and I wasn't about to redo the whole project!


Doesn't it look lovely on my model, my husband?


No, you say? Well, let's see if he can take a picture of me with the ruffle goodness.

Hmmm...what was he trying to take a picture of?!


At this point I said 'just take a picture of me, including my face'. I kid you not- he immediately looked at my hair and said 'you want that in the picture?'. So sweet!


and yes, my husband was right, not the best picture of me! :)


I link up to these parties!