Jan 24, 2012

Printable Bookplates - FREEBIES!

If your kiddos are anything like mine, they LOVE books. We have tons of books at our house and I love watching the boys picking up books and flipping through them. It is just so dang cute! Ever since the Build-A-Library baby shower that I co-hosted for my sister, I have been adding bookplates to the boys' books. The most recent favorite that I created are these cute grey ones.


I love being able to document who gave the boys that particular book! Slowly but surely, our library is being labeled either with these bookplates, or generic 'Brown Library' bookplates.


I have also started including a set of bookplates when I give books as gifts. I add one in the book with the boys' names written in, and then a set of blank ones for the recipient to add to other books in their collection.


So, because I love all my sweet readers, I am sharing some free bookplates for your personal use! You can hand write the names or use an editing program to add text to these. I have a blue, pink, and orange version that you are welcome to save and use for yourself or for gifts. (PLEASE, do not sell these bookplates! But you are welcome to make as many as you like and give away as many as you like!)


I print these onto Avery name tags, but you can resize these to fit the sticker labels of your choice. I like these Avery name badges because you can seperate them individually after printing rather than having a full sheet of stickers. They are a little more expensive than others, though!


Please be a fan of lil Mop Top on facebook!! I link up to these parties!

Jan 23, 2012

rainBOW Baby Shower

We have another guest post today! Yay! My sister, Emily, from Refreshingly Chic, is here to show off her fabulous 'Somewhere over a RainBOW' baby shower. I love how everything turned out (and I am only a tad biased!). I also designed her invitations so I am more than a tad biased about those. So, please welcome Miss Emily!

One of my great friends, Stefanie, is having a baby girl in March and I helped throw a baby shower for her at my house over the weekend.
We wanted to do something different that we haven’t seen all of Pinterest (love) and that we haven’t already seen at our own friends’ showers… so we came up with a build a bow collection.  My sister, Jen, helped design our ADORABLE invitations.  I got TONS of compliments on them and everyone seemed to love the theme.  So happy with the outcome!


em_finalinvite copy


A few months ago I saw a picture of a string of origami bows and I knew I wanted to do that as part of the décor.  I didn’t think it would be so hard to find a video on how to make these but it was!  After some research, the bows were made and ready to go.IMGP1451IMGP1452
These bows added with some balloons were the main decoration for the fireplace and mantel area, which is where we put all of Stefanie’s presents.
IMGP1490IMGP1493IMGP1494IMGP1495
The activity for the shower was a RainBOW of blessings.  I cut out a bow shape and traced it onto 6 different pieces of scrapbook paper and cut those out (duh).  I made a chalkboard and bow holder and put the instructions to write a blessing on a bow and using a baby clothespin attach it to the bow holder for Stef to take home.  Stef had mentioned to me a month ago that she wanted to make a bow holder that she found on Pinterest, but little did she know I already made it for her!


IMGP1502IMGP1503IMGP1504


*Check out Refreshingly Chic and like them on Facebook to find out how to make the bow holder and chalkboard yourself!*
As you can see there is also a wreath in the decorations.  I have a SLIGHT wreath obsession, so what better to do than make one for Stefanie to use at the hospital and then in her home!  I bought some white yarn that has a glimmer of iridescent to it and wrapped the whole wreath in it.  Then using the Cricut I made a banner that spelled out Baby Girl.  I got the letter A and painted it red to match her nursery and my lovely husband wired it on there and Wah-Lah!  Wreath complete.
IMGP1497IMGP1498
One of the hostess made a diaper cake and another made favors for our guests.  The favors were Rice Krispie treats, YUM.
IMGP1508IMGP1509IMGP1511IMGP1510
Next was the food.  We had about 25-30 people RSVP and it was from 1-3pm so we wanted to make sure people got plenty of options.  On Pinterest I saw a rainbow of fruit with marshmellows as the clouds so I knew that I wanted to do that.  Sara, hostess, made the cupcakes and made the cupcake toppers, which I thought were perfect for the shower theme.  Sadly, I couldn’t eat one, but I am sure they were delish!  I also added balloons entering the room with the food.  I never get to use balloons with shower so I used them a lot! ha!
IMGP1505IMGP1512IMGP1513IMGP1514
Here are some pictures of my sweet Emma playing with my friend Kendra’s baby, Asher.  They were too cute together!  And, of course, some pictures of Stef opening presents.
IMGP1516IMGP1517IMGP1518IMGP1520IMGP1523IMGP1526IMGP1529
Hope you enjoyed the shower!!!


Thanks again to Em for being here today! Be sure to check out her facebook page Refreshingly Chic...and after you check out mine of course! :)

Please be a fan of lil Mop Top on facebook!! I link up to these parties!

Jan 20, 2012

For ME Friday - Shabby Chic Sign

As per usual, I haven't done a crafty project for myself in a while. However, when cleaning out my craft closet this week, I found some wall decals I bought 5 or 6 years ago. Yes, you read that correctly. Five or six YEARS AGO. I bought these at a scrapbook store that was going out of business and thought I would use them to make something for my bedroom. Well, fast foward 5 or 6 years, and they were still in my closet packed away. Not anymore, my friends! Look at what I made for myself!!


Isn't it super cute?! I love how it is simple, yet pops on my mantel. I also love that it was one of those easy projects that I could put out on my kitchen counter and do the steps throughout the day while still taking care of the kiddos. I think one reason why I don't do a ton of projects is because if they are time intensive, I have to do them at night when the kids are sleeping and by then I don't feel like doing anything!

So here's how I made this easy sign.

Supplies:
scrap wood
paint, brush
heart doily (from the dollar store)
decals (can make your own with a cricut or silhouette...or scissors!)
sander or sand paper


1. I took a scrap piece of wood from the garage and painted it white. I used 2 coats.


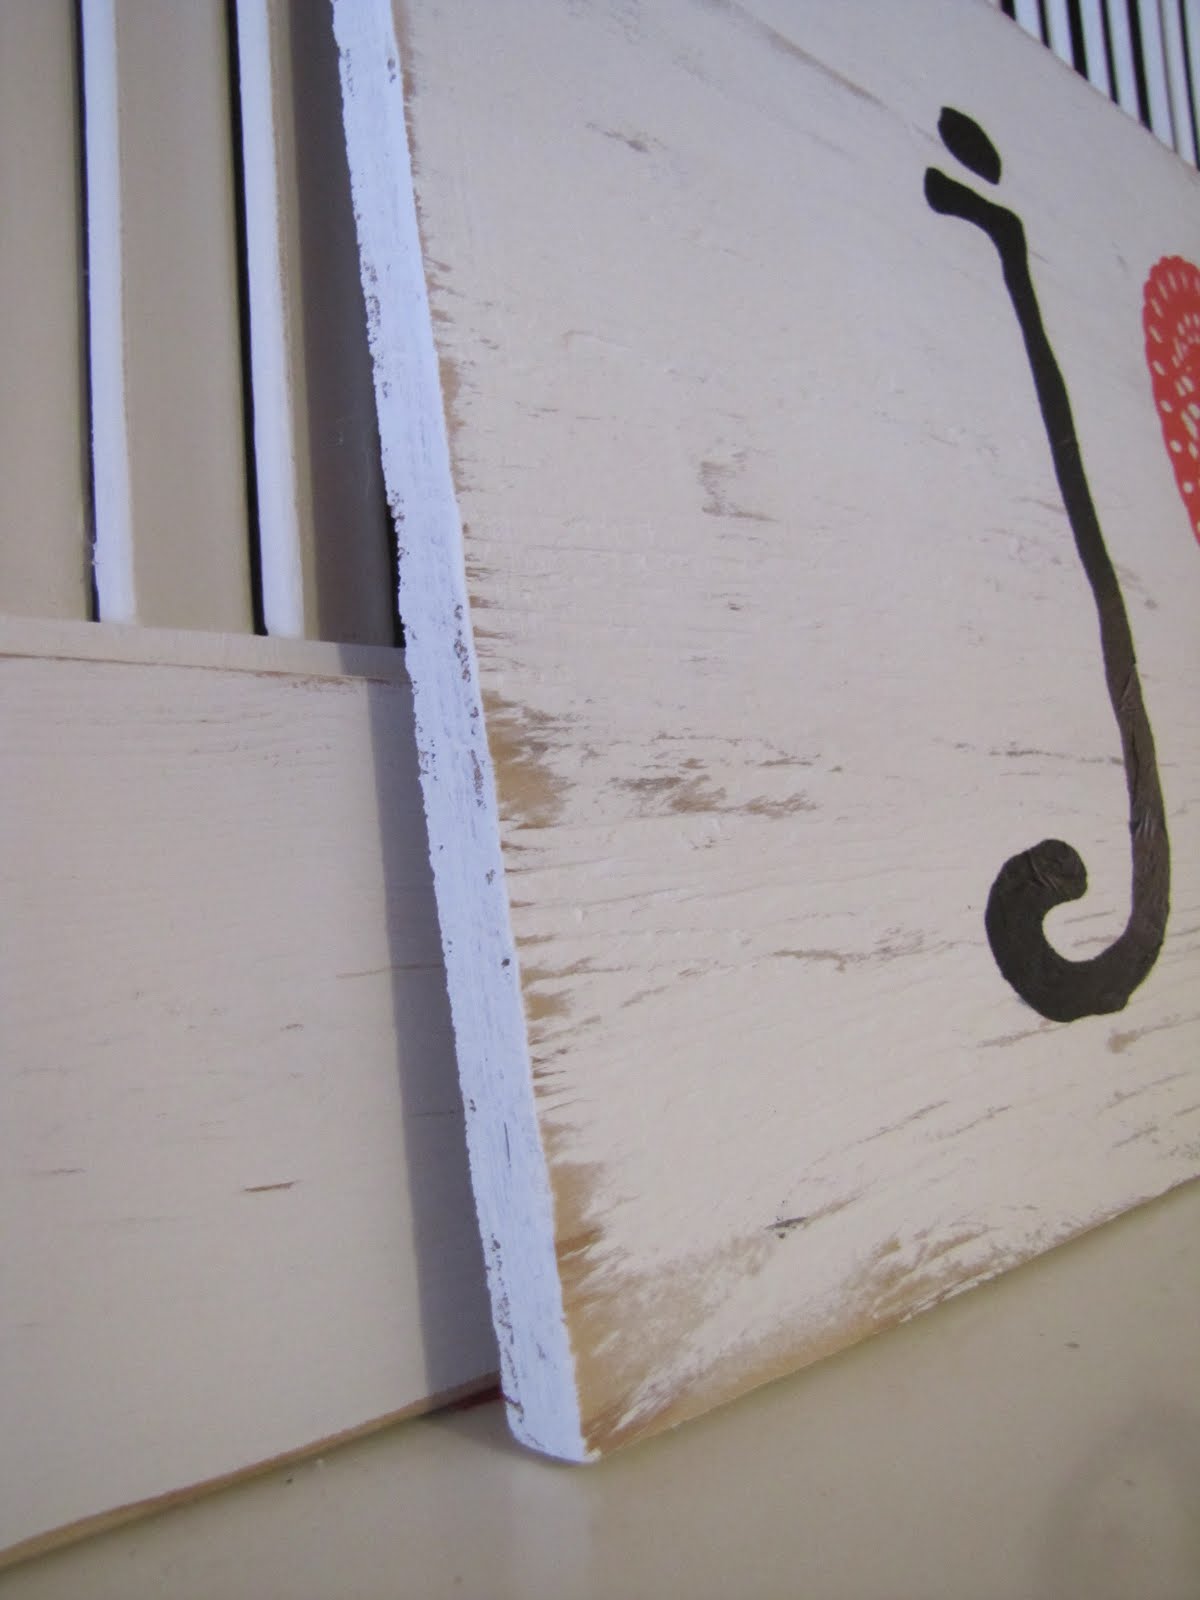
2. After the paint dried, I used Brad's power sander to sand around the edges and distrss the wood a bit. And, you know, I should start saying it is MY power sander since I am pretty sure I have used it more than Brad has!


3. I used some spray glue to glue the heart onto the middle of the board. This glue is SUPER sticky. Like, doesn't come off your fingers sticky. So, definitely do the spraying outside. It is also better to spray the back of the heart away from the board, and then press the heart onto the board.


4. Using the directions of your decals (or vinyl), rub the letters onto the board.


*In case you didn't know, my name is Jen and my hubby is Brad. Thus, the 'j & b'. I will let you figure out why I didn't want 'b & j' on my mantel*

OPTIONAL- You can also mod podge over the entire board to seal it. However, I ran out of mod podge after my last sign (that I sold on Etsy! woohoo!) So, I left mine unsealed.


Side note- don't you love the distressed corners of the board?!


Don't you just love easy projects?! Like I said, I love how this looks on my mantel. I posted about my mantel earlier this week, but I think I really like the new setup WAY better. Don't you agree?


Please be a fan of lil Mop Top on facebook!! I link up to these parties!

Jan 18, 2012

Simple Valentine's Mantel

In case you haven't notice, we are just shy of one month 'til Valentine's Day. I love Valentine's Day and all the sappy sweetness! I just think it gives me a good excuse to do extra fun and lovey things for my favorites boys and hubby.

Unfortunately, this year we are trying to get our house in tip top shape so we can try to sell it in March. So I am having to scale back this year on decorations and parties (no annual pizza party this year and I am already sad about it!). So, I decided to put up a simple mantel to bring a little color and festivity into the living room. So, here it is...


My garbage find shutter is still up (and I still love them!) and I strung heart doilies across the corner. I got the hearts from the dollar store last year and I am not sure if they have them this year. I made the wreath last year as well. I wrapped a foam wreath, also from the dollar store, with scrap fabric and tied a red ribbon at the top. I folded and hot glued cupcake liners onto the side of the wreath. Then I glued hearts (also from...the dollar store!) to add some heart pizzazz.


See, simple and pretty! Do you have a Valentine's mantel to share? If so, put the link in the comments because I would LOVE to see it!

Please be a fan of lil Mop Top on facebook!! I link up to these parties!